More actions
| VitaDock Plus | |
|---|---|
 | |
| General | |
| Author | SilentNightx |
| Type | PC Utilities |
| Version | 2.6 |
| License | GPL-3.0 |
| Last Updated | 2023/11/07 |
| Links | |
| Download | |
| Website | |
| Source | |
VitaDock+ is a Linux distribution for Raspberry Pi used to create a PlayStation Vita docking station for video output to a TV.
It is improved based on VitaDock, one of the most ambitious projects ever designed for the PS Vita, it is a real Dock similar to the one used by the Nintendo Switch console.
This release introduces a new low latency mode, a mode called Plugin Controlled, used to control running plugins (it runs vita-udcd-uvc by default) and a number of optimizations.
Features
- Hardware accelerated across all supported hardware.
- Low input latency and accurate colors.
- Lanczos upscaling to desired output resolution.
- Display power control across all models.
- Menu to switch between 960x544 @ 30FPS, 864x488 @ 60FPS, and Plugin Controlled modes.
- VitaDock+ themed with fancy splash screen and notifications for visual feedback when changing settings.
- Works on most Raspberry Pi models with a single image.
- Fits on 4GB SD cards.
- Nintendo Switch RCM injection.
- Cool experimental features (Nintendo Switch Video Output With SysDVR, Sharpscale Mode).
Installation
Requirements:
- A hacked Vita: https://vita.hacks.guide/.
- Latest official vita-udcd-uvc installed on your Vita.
- A Raspberry Pi with power cable, display cable, and 4GB+ SD/MicroSD card (see tested models).
- Computer with an SD card slot or a USB SD card reader (often included in Raspberry Pi starter kits).
- USB mouse to change settings or connect Bluetooth audio.
How to install:
- Download the latest release of VitaDock+.
- Download and install Raspberry Pi Imager for your operating system.
- Plug in the SD card to your computer and run the Raspberry Pi Imager.
- When asked to choose OS select the option to use a custom image and select the VitaDock Plus VX.img you downloaded.
- Choose the SD card to write it to (make sure to select the right one).
- Click Next and say no to applying OS settings. Once it is done it will tell you to remove the SD card.
- Plug the SD card into your Pi and power it on. Depending on your Pi model it might take awhile to load as it automatically configures the image for you on first boot. If the Pi doesn't boot see the troubleshooting section below.
Any time you see the VitaDock+ desktop you can plug your Vita in through USB to get video output.
User guide
Tested Models
| Model | Status | Details |
|---|---|---|
| All Pi 5 Models | Not Working | Requires major OS upgrade to work which has issues at the moment |
| Raspberry Pi Zero 2 W Rev 1.0 | Excellent | |
| Raspberry Pi 4 Model B Rev 1.1 (4GB) | Excellent | |
| Raspberry Pi 4 Model B Rev 1.2 (2GB) | Excellent | |
| Raspberry Pi 4 Model B Rev 1.1 (2GB) | Excellent | |
| Raspberry Pi 3 Model B Plus Rev 1.3 | Excellent | |
| Raspberry Pi 3 Model B Rev 1.2 | Excellent | |
| Raspberry Pi 2 Model B Rev 1.1 | Good | |
| Raspberry Pi Zero W Rev 1.1 | Works | Latency makes games unplayable. See performance tips section below. |
Updating
Check the repository page for updates and rewrite the image when there is one. Data stored on the dock will be overwritten but this isn't really a distribution you're meant to store data on in the first place.
Recommended Plugins
MiniVitaTV by TheOfficialFloW - Allows the PS Vita to run like a PS TV, enabling DualShock 4 controllers to be connected and makes games load their PS TV control schemes.
PSV VSH Menu by joel16 - Allows you to set processor states for games, overlay FPS counter, and more. Checking the FPS of a game can be helpful when using VitaDock+ so you can decide what mode you want to use (HD @ 30 or SD @ 60).
Physical Power Button
Connect a physical power button to GPIO 3/SCL (physical pin 5 on the RPi3+) and GND (physical pin 6 on the RPi3+). This is not configurable.
Nintendo Switch RCM Injection
Name your payload payload.bin and place in /boot/nx/. When the Pi detects a Switch in RCM mode over USB it will automatically inject the payload within 3 seconds.
Cases
- https://www.thingiverse.com/thing:3942821
- https://www.thingiverse.com/thing:3502645
- https://www.thingiverse.com/thing:4609317
- https://www.tinkercad.com/things/b0GQwqVYNPP
Performance Tips
Overclocking and disabling Bluetooth on low powered Pis can also help. Good starting overclock values:
| Model | arm_freq | core_freq | gpu_freq | sdram_freq | over_voltage | Cooling Required |
|---|---|---|---|---|---|---|
| Raspberry Pi 1 Model A & B | 1000 | 450 | 6 | |||
| Raspberry Pi A+ / B+ / Compute Module | 1100 | 450 | 450 | 6 | Yes | |
| Raspberry Pi Zero / Zero W | 1100 | 450 | 6 | |||
| Raspberry Pi 2 v1.1 | 1000 | 500 | 2 | |||
| Raspberry Pi 2 V1.2 | 1300 | 500 | 4 | |||
| Raspberry Pi 3 & Compute Module 3 | 1300 | 500 | 4 | |||
| Raspberry Pi 3 A+ / B+ / Compute Module 3+ | 1500 | 4 | ||||
| Raspberry Pi 4 | 2100 | 750 | 6 |
Data from: https://www.tomshardware.com/how-to/overclock-any-raspberry-pi.
The author does not take responsibility for anyone damaging their hardware with overclocking.
Troubleshooting
Boot failure:
- Wait awhile. Some Pis can take up to 10 minutes to boot on the first boot.
- Try again by forcing the power off.
- Make sure you are using a good power supply.
- Try unplugging the HDMI cable and plugging it back in.
- If your Pi has two HDMI ports try the other one.
- Reimage the SD with the recommended imaging software.
- If you're running a newer model Pi it's possible it's a revision VitaDock+ doesn't support yet.
Vita connection issues:
- Reboot the dock and the Vita and try again. Check the USB cable, it can make a difference.
- Make sure you have the latest official vita-udcd-uvc.
- Make sure your Pi has a good enough power supply.
- If you use a lot of plugins disable plugins you don't need to see if it increases your connection success rate.
- There is a correlation between long Vita boot time and vita-udcd-uvc connection success rate. If you have a lot of storage on your Vita it can take a long time to boot. If you are using StorageMgr for your storage consider switching to to yamt-vita or yamt-vita-lite to decrease boot times and increase connection success rate.
- If using an overclocking plugin on the Vita try setting it to 444 in the LiveArea to see if it helps connection issues.
For Advanced Users
- Username is
pi - Password is
raspberry
Do not connect VitaDock+ to the internet without changing this.
Use the run menu to access standard programs:
pcmanfmto open file managerx-terminal-emulatorto open terminal emulatormenulibreto open menu editor
If you want to install more programs first expand the filesystem with raspi-config to fill the rest of your SD card.
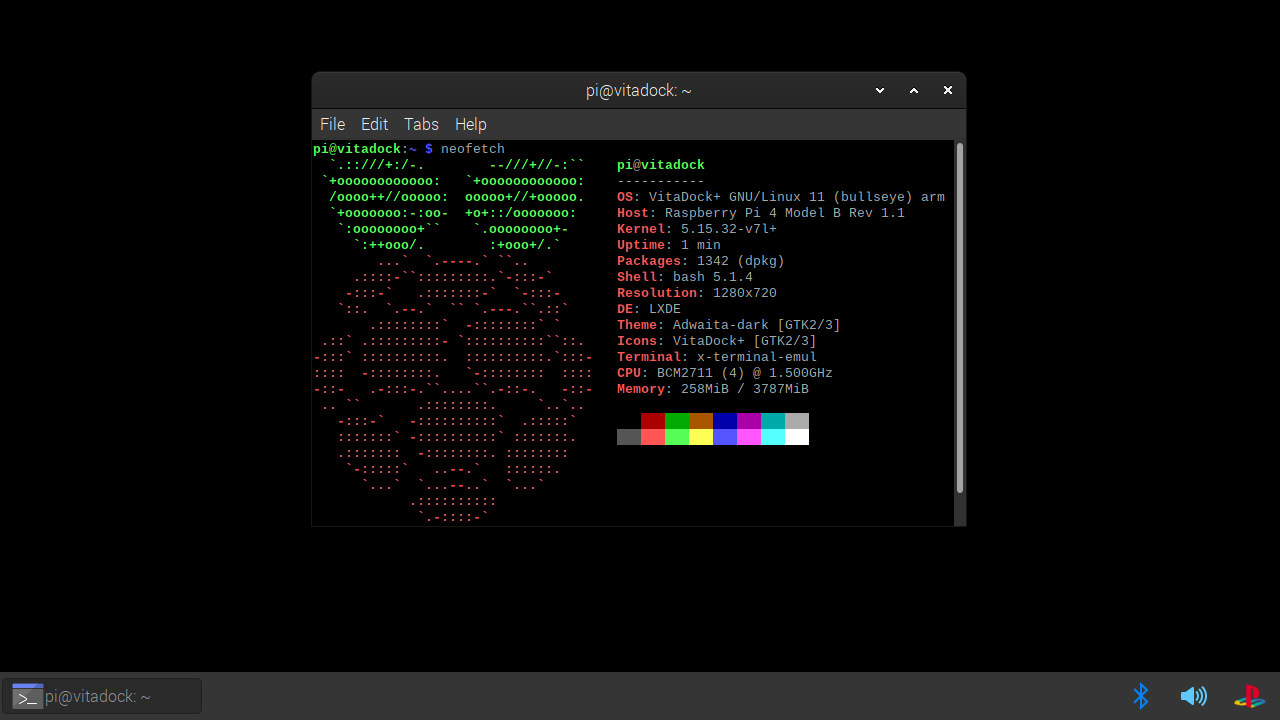
Screenshots

Changelog
v2.6
- Bluetooth stability/latency improved by optimizing background python scripts with high CPU usage.
- Pi now runs cooler during idle.
- Fixed AUX configuration tool not wanting to launch sometimes.
- Fixed Bluetooth SAP errors.
- Made the player not always run on top which makes other menus easier to interact with while the stream is running.
v2.5
- Experimental image is now the main image based on Raspbian Bullseye(*).
- Fixed booting on some newer revision Pis.
- Fixed no Bluetooth audio on some Pis.
- Fixed display flickering that would happen when using some Pi models on certain TVs at non-native resolution.
- Fixed color range output and added toggle between limited and full range (thanks to @maxpower0815 on Discord).
- Added AUX audio input support (thanks to ste2425 on GitHub).
- Added menu control with GPIO pins (thanks to ste2425 on GitHub).
- Fixed some menu buttons not doing anything.
- Made some icons look nicer.
- Added the ability to change stream settings while the stream is running.
- Removed Low Latency Mode from the menu.
- Disabled the compositor for increased performance.
- Fixed automatic filesystem expansion.
- Made "Show First Boot Message" into "Prepare For Imaging", it now cleans personal information and removes the swapfile in addition to resetting the first boot script.
(*)This image might make performance worse on old/slow Pis like the Pi Zero/Pi 1 because Raspberry Pi OS now uses the new graphics driver across all Pis and VitaDock+ is following suit. Performance could get better or worse going forward based on RPIOSs future graphics driver optimizations.
v2.0
- Solved many hardware specific issues.
- Pi 0 W 2 and Pi 4 8GB now supported.
- Switched to mpv backend.
- Eliminated screen tearing.
- Increased performance.
- Decreased latency.
- Fixed colors.
- Fixed Bluetooth module sometimes not loading on boot.
- Physical Power Button and Nintendo Switch RCM Injection features now enabled by default.
- Sharpscale Mode and Nintendo Switch SysDVR now enabled by default as experimental features.
- Fixed menu icon and theme issues.
- Fixed some options changing notifications.
- Replaced alacarte menu editor with MenuLibre due to alacarte randomly resetting custom menus.
- Trimmed image down to less than 4GB without deleting locales which caused some bash issues.
- NOTE: VitaDock+ now exists as two images. The new experimental image is an image based on Raspberry Pi OS Bullseye instead of Buster. You should try this experimental image if the current one fails to boot for you.
v1.2
- Updated firmware allowing newer production Pi 4s to boot.
- Altered video color during playback to be more accurate.
- Blocked Pi 4 models from entering Low Latency Mode (it doesn't work and there wouldn't be much benefit to making it work).
- Added notifications to provide visual feedback when changing settings.
v1.1
- New Low Latency mode.
- New Plugin Controlled mode (runs at vita-udcd-uvc default mode).
- New optimizations.
- Fixed filesystem expansion.
- Fixed small boot partition allowing automatic Nintendo Switch RCM injection (see Add-on Features section of the readme).
- New audio device icon.
v1.0
- First Release.
Credits
Original VitaDock Team: Bu (m0tie), ZoidBerg, his wife Si (icon and video), David-OX, Crash, and SilentNightx.
Special thanks to Xerpi (vita-udcd-uvc), TheOfficialFloW (various Vita exploits), Team Molecule (HENkaku), Relative (rpi-nx-rcm), and exelix11 (SysDVR).
