More actions
No edit summary |
No edit summary |
||
| Line 2: | Line 2: | ||
|title=nro-thumbnailer | |title=nro-thumbnailer | ||
|image=thumbnailernx.png | |image=thumbnailernx.png | ||
|description= | |description=Create thumbnails of Switch homebrew (.nro) on your Linux Desktop. | ||
|author=carstene1ns | |author=carstene1ns | ||
|lastupdated=2018/06/01 | |lastupdated=2018/06/01 | ||
Latest revision as of 03:33, 20 October 2024
| nro-thumbnailer | |
|---|---|
 | |
| General | |
| Author | carstene1ns |
| Type | PC Utilities |
| Version | 0.0.2 |
| License | ISC |
| Last Updated | 2018/06/01 |
| Links | |
| Download | |
| Website | |
| Source | |
Generates thumbnails from Nintendo Switch (homebrew) executables for view in your Linux file manager (Nautilus/Nemo/Caja/...).
It comes with a special border as a bonus feature.
Installation
Prequisites:
- freeimage (image conversion and resizing)
- shared-mime-info (to add the needed mime type)
To install:
$ cmake . [-DCMAKE_BUILD_TYPE=Release -DCMAKE_INSTALL_PREFIX=/usr]
$ make install
Packagers may want to use the $DESTDIR variable and need to call update-mime-database after installation.
User guide
nro-thumbnailer [OPTIONS]

Options:
  -h,--help                   Print this help message and exit
  --config FILE=~/.config/nro-thumbnailer.conf
                              Configuration file

Files:
  -i,--input FILE             Input file
  -o,--output FILE            Output file

Configuration:
  -s,--size UINT=128          Thumbnail image height
  -b,--border                 Add border around thumbnail
  -m,--max-skip UINT=10       Maximum executable size (in MB)
GNOME/GTK3 integration will be installed by default, so file managers should start creating thumbnails after restarting them. However, you may need to enable thumbnail generation itself first. Check your file manager settings and manual for additional information.
Configuration
You can create $XDG_CONFIG_HOME/nro-thumbnailer.conf (usually $HOMR/.config/nro-thumbnailer.conf) and define default options there:
size=200
border=true
max-skip=25
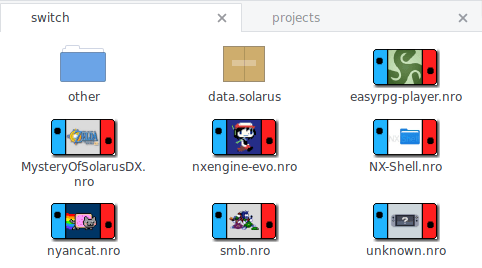
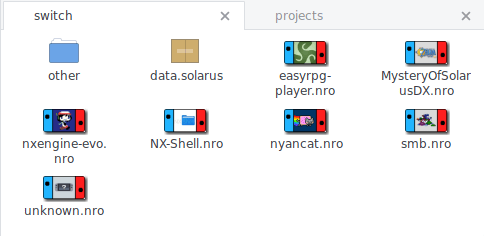
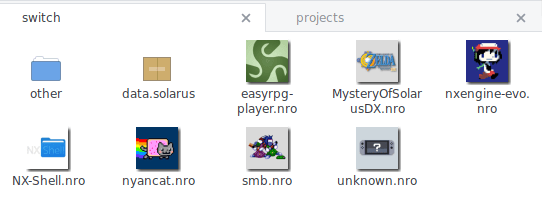
Screenshots
With border


No border

