More actions
| Line 40: | Line 40: | ||
Each config file is for each individual ROM, so each ROM can each have a different configuration. | Each config file is for each individual ROM, so each ROM can each have a different configuration. | ||
The Left-Stick on the GamePad emulates the D-Pad, and the Right-Stick on the GamePad emulates the A, B, X, and Y buttons. This allows you to easily play two player pong on the | The Left-Stick on the GamePad emulates the D-Pad, and the Right-Stick on the GamePad emulates the A, B, X, and Y buttons. This allows you to easily play two player pong on the GamePad using the sticks. | ||
== Screenshots == | == Screenshots == | ||
Latest revision as of 12:39, 21 Mayıs 2024
| CHIP8 Emulator | |
|---|---|
 | |
| General | |
| Author | rw-r-r_0644, brienj |
| Type | Computer |
| Version | 2.2 GX2 |
| License | Mixed |
| Last Updated | 2016/07/24 |
| Links | |
| Download | |
| Website | |
| Source | |
A CHIP8/SCHIP-8 emulator for Wii U.
CHIP-8 is an interpreted programming language, developed by Joseph Weisbecker. It was initially used on the COSMAC VIP and Telmac 1800 8-bit microcomputers in the mid-1970s. CHIP-8 programs are run on a CHIP-8 virtual machine. It was made to allow video games to be more easily programmed for said computers.[1]
Originally ported by rw-r-r_0644 using the emulator from Laurence Muller's article[2] and updated by brienj of XHP Creations.
Installation
Copy the wiiu folder to the root of your SD card.
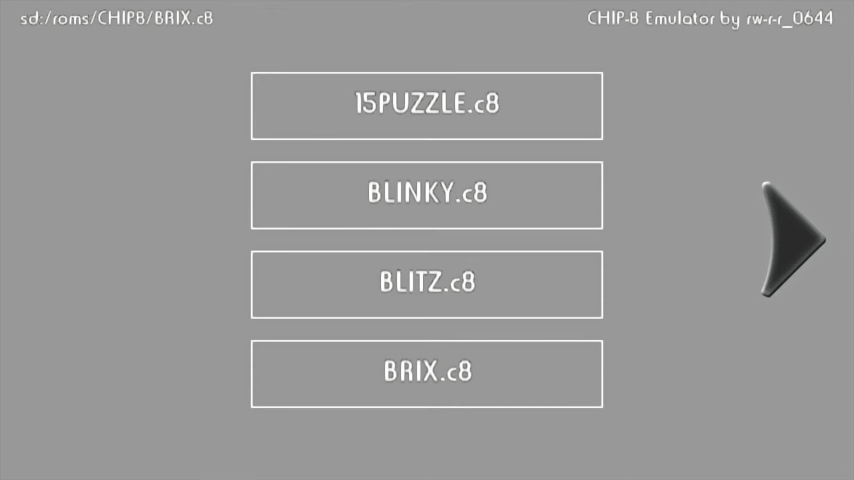
Put all of your CHIP-8/SCHIP-8 roms in the sd:/roms/CHIP8/ folder of the SD card with the .ch8 extension.
Sub-folders are acceptable, but not needed.
User guide
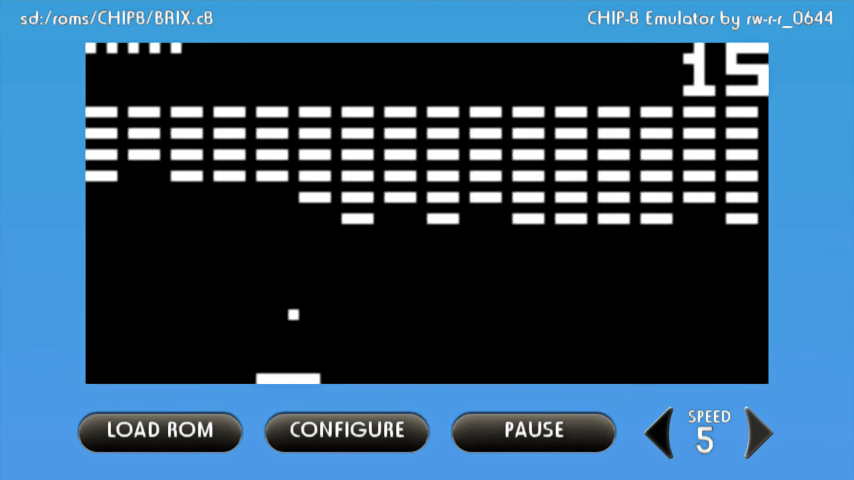
Load a ROM and press the Play button. If you select the play button with a WiiMote, that WiiMote will be used as the controller, with sideways orientation.
The A and B buttons will be swapped with the 1 and 2 buttons, and the X and Y buttons will be swapped with the A and B buttons, if you play with a WiiMote.
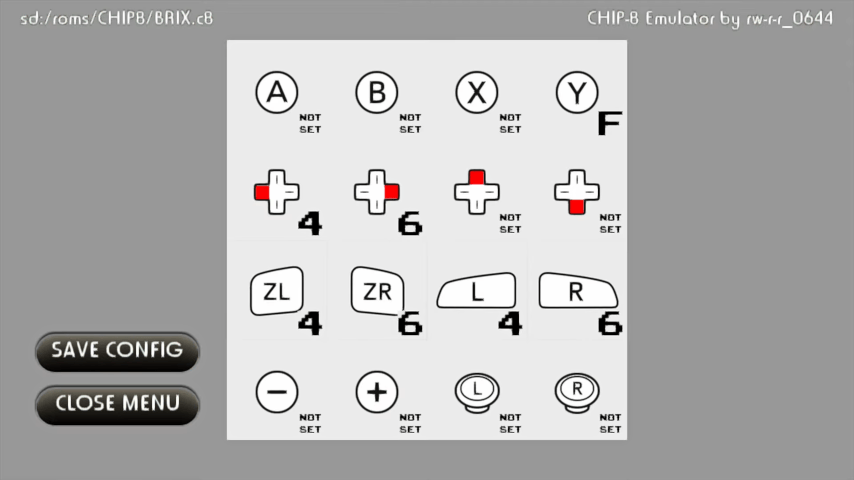
Once a game is started the Play button becomes a Pause button. Selecting the Config button will open up the controller configuration. Select a controller button on the screen and then select the button number you wish to assign it to.
Pressing the Save Config button on the configuration screen will save a 16 byte config file in the same directory with the ROM.
Each config file is for each individual ROM, so each ROM can each have a different configuration.
The Left-Stick on the GamePad emulates the D-Pad, and the Right-Stick on the GamePad emulates the A, B, X, and Y buttons. This allows you to easily play two player pong on the GamePad using the sticks.
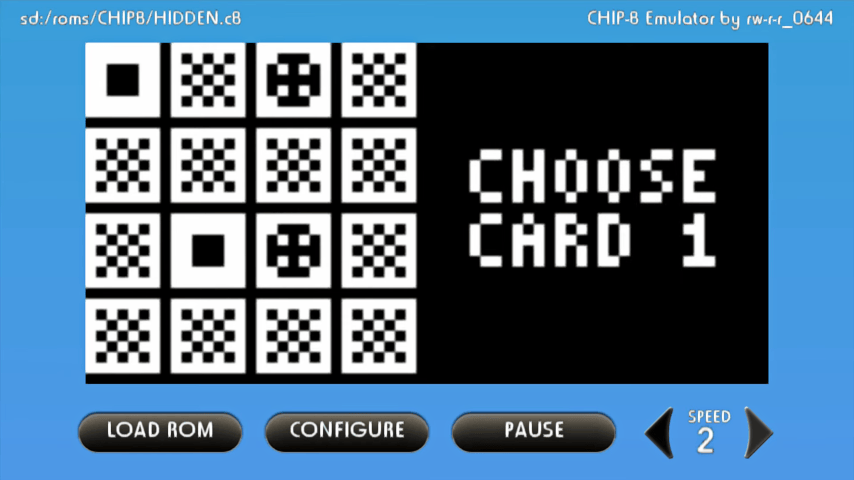
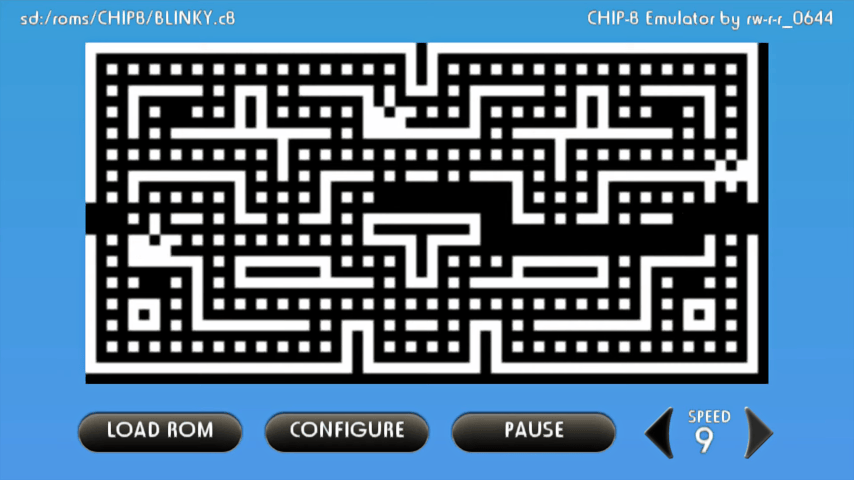
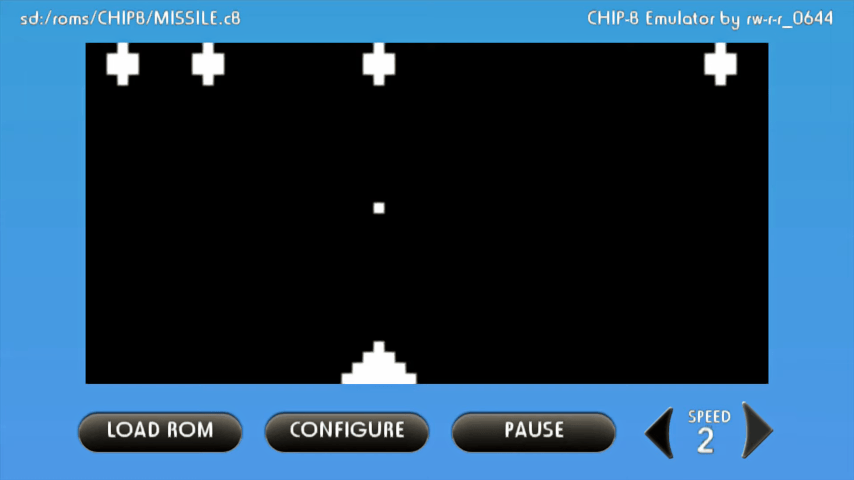
Screenshots
Media
CHIP-8 Emulator on Wii U using GX2 graphics (XHP Creations)
Changelog
GX2 (brienj)
- Switcheed to GX2 graphics.
- Added key configuration saving to SD.
- Switched to more common .ch8 extension.
- Added Super CHIP8 support.
- Added sound.
- Added easier speed selecting.
- Added real time speed (fixing INVADERS and other almost all games).
v2.1
- Added delay between cycles feature.
v2.0
- Added HBL and file browser support plus various speed improvements and bugfixes.
v1.1
- Switched clear screen instruction and reset to memset.
v1.0 (rw-r-r-0644)
- First public release.
Credits
CHIP8 Emulator:
- rw-r-r_0644 for original port.
- brienj for adding GX2 graphics, sound support, and Super CHIP-8 support.
Original Credits:
- http://www.multigesture.net/articles/how-to-write-an-emulator-chip-8-interpreter/ (original emulator).
- @vgmoose and @brienj for help and support.
- @dimok and joedj for FTPiiU file functions and dynamic libraries
- Others (look at the source code).
References
- ↑ CHIP-8 - Wikipedia, en.wikipedia.org. Accessed 2024-01-10
- ↑ Laurence Muller, How to write an emulator (CHIP-8 interpreter), multigesture.net, 2011-30-25
